Loading cart contents...
Ledger Nano S Setup Guide
New to Cryptocurrencies and hardware wallets? Confused about how to setup the Ledger Nano S? Fear not, this guide will walk you through setting up the Ledger Nano S hardware wallet completely from scratch as a brand new device.
Unboxing
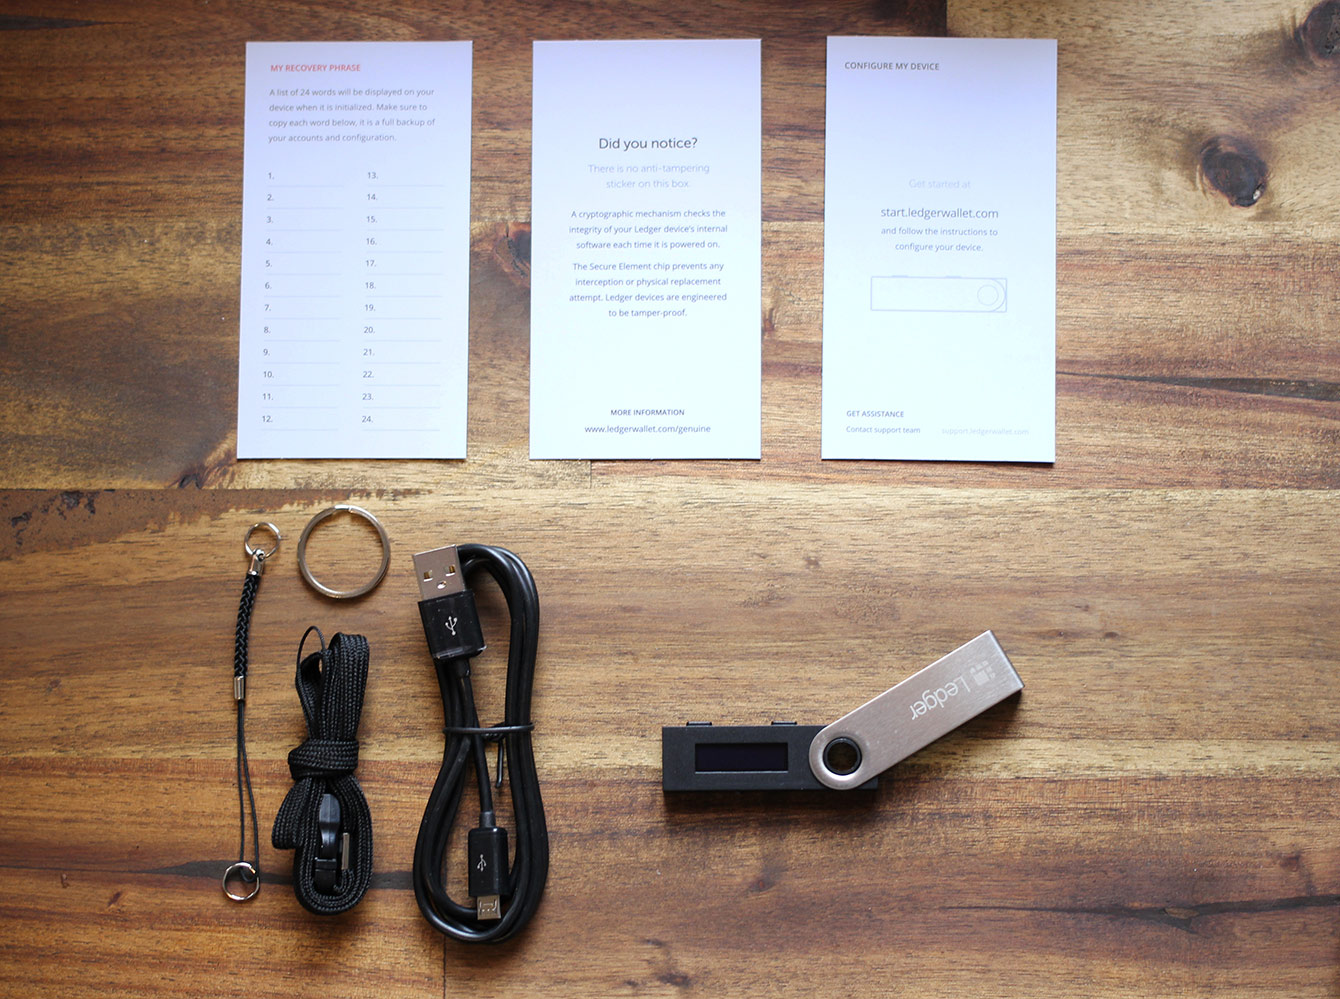
Begin by removing the plastic shrink wrap from the outside and layout all of the contents of the box to ensure you have everything you need. Ensure that the included recovery phrase sheets are blank and your Ledger Nano S box should contain:
- Ledger Nano S device
- USB Cable
- Instruction booklet
- Recovery sheet
- Lanyard
Connect
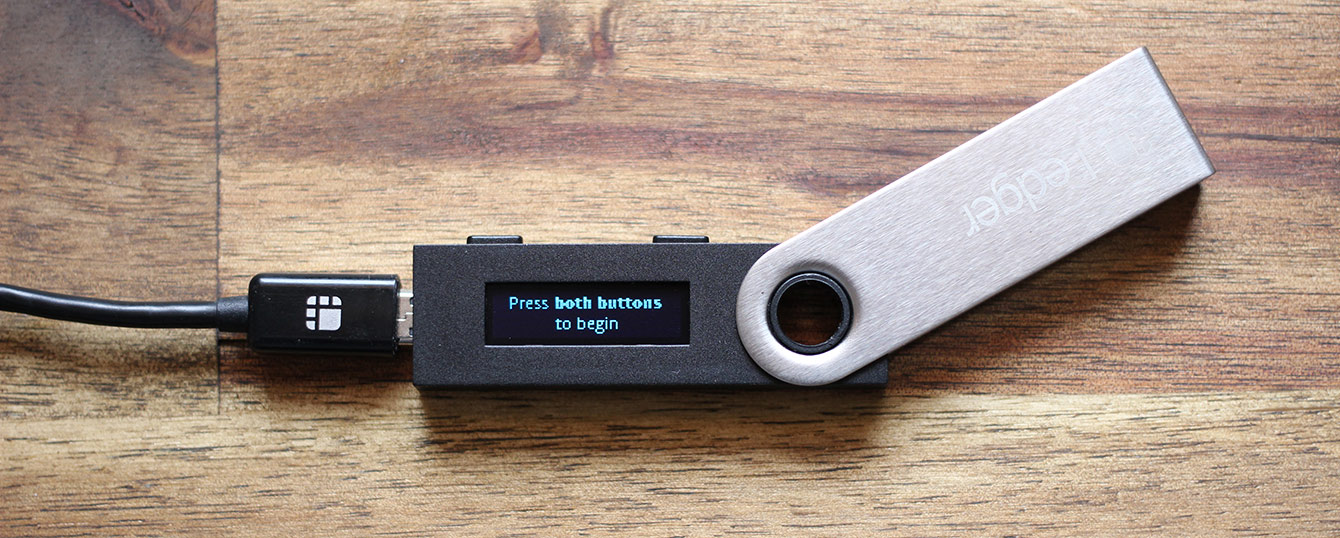
- Ensuring your computer is switched on, connect the micro-USB end of the USB cable into the side port of your Ledger Nano S.
- Connect the other end of the USB cable to a spare USB port on your computer and the screen will display the message Press both buttons to begin.
- Press both buttons on the top of the Nano S simultaneously.
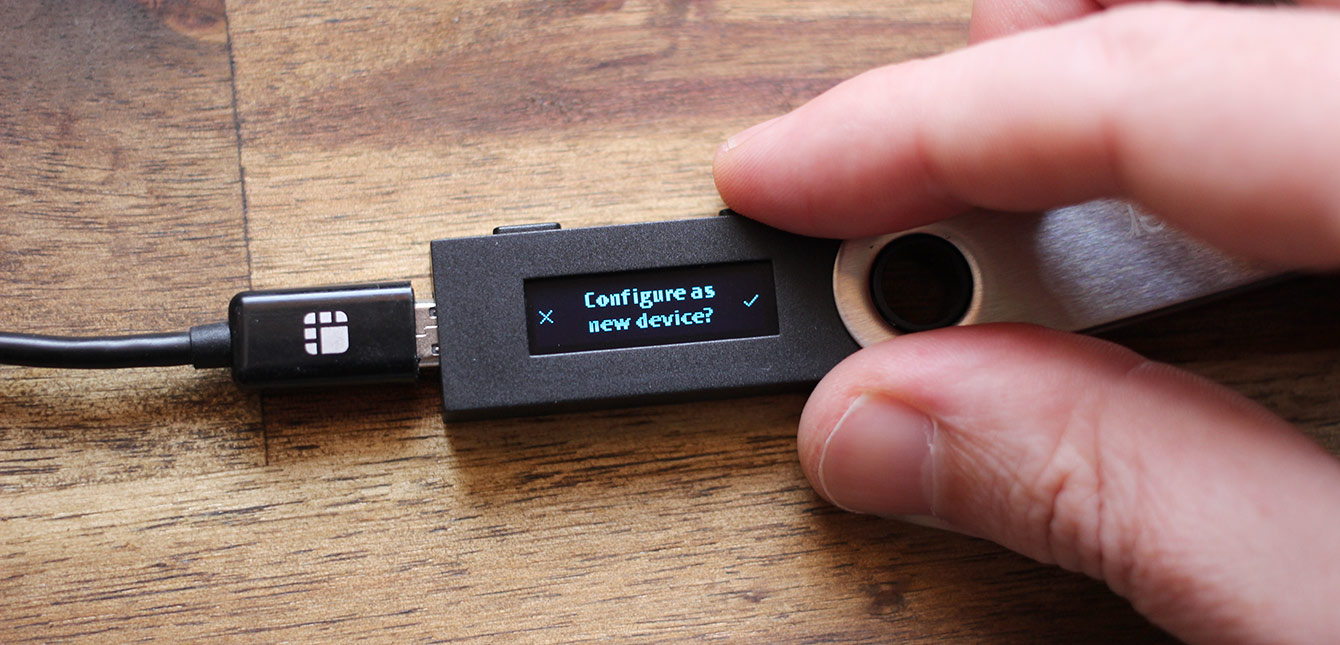
- Press the right button to confirm that you would like to configure your Ledger Nano S as a fresh new device.
PIN Setup
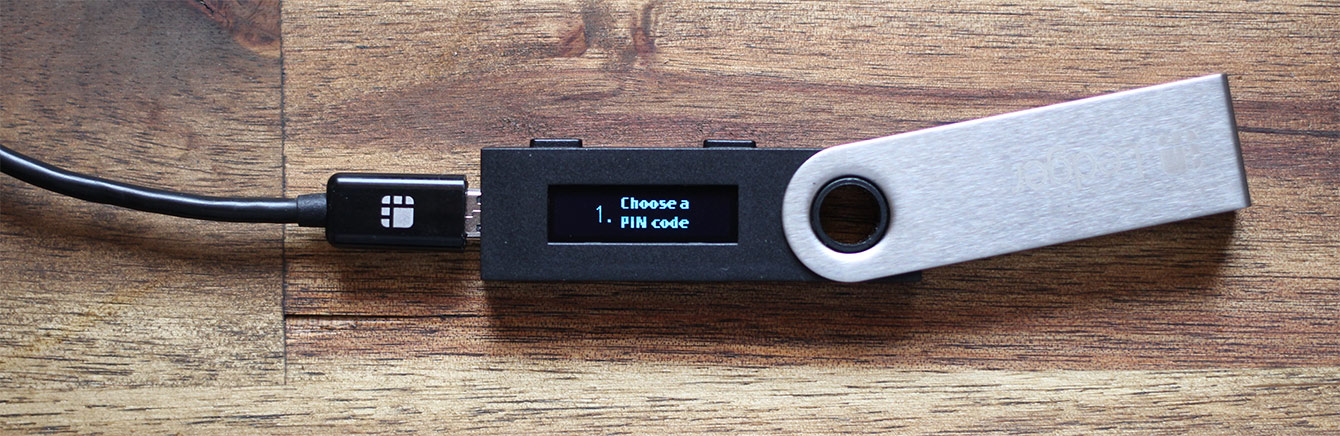
- The screen will now show that it is at the first step to Choose a PIN code. The PIN you select in this process will be used each time you power on your Ledger Nano S and for certain security confirmations. Ideally it should be a number that you can easily remember but nothing too easy to guess such as 1234, etc. Press both buttons at the top of the device to being PIN setup.
- Use the buttons as up/down controllers to select the first number of your PIN and then press both buttons to confirm.
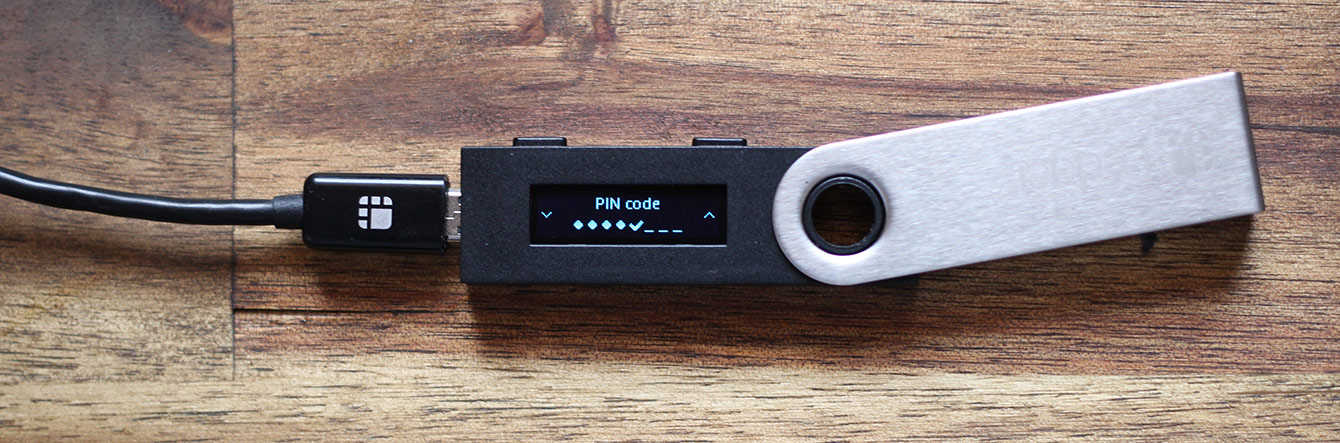
- Continue this process until you have your chosen 4 – 8 digit PIN. If you make a mistake you can select the ‘backspace’ icon. When finished, select the ‘tick’ icon by cycling through the available digits and press both buttons to confirm your chosen PIN.
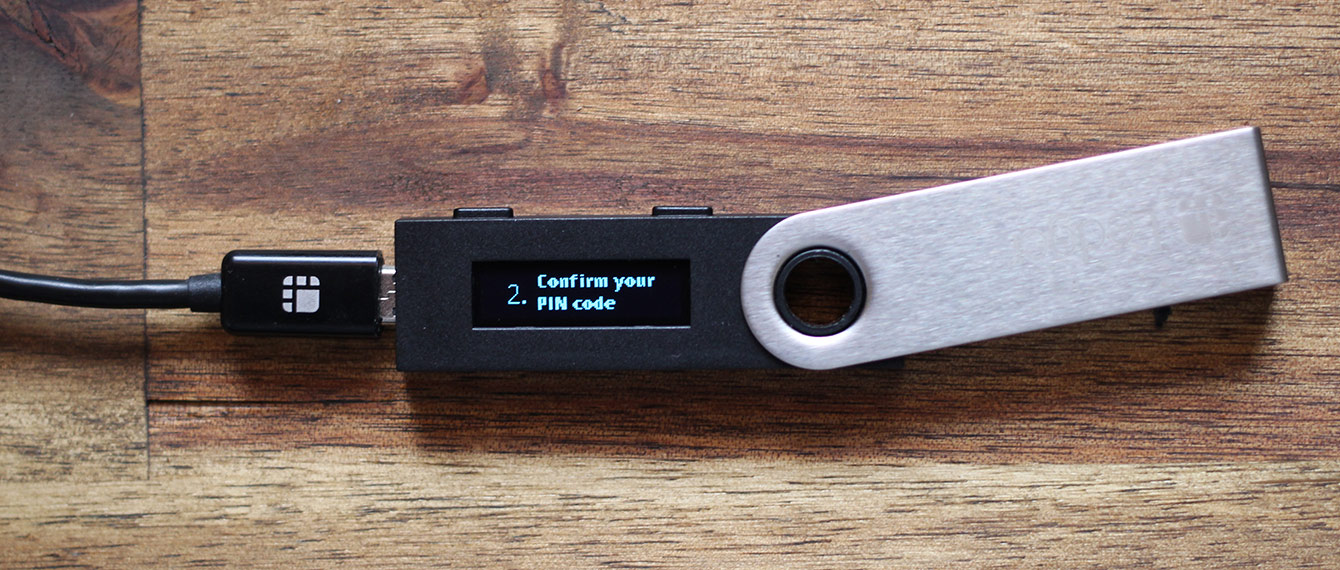
- The device will then ask you to confirm the PIN code you just created. Press both buttons to begin the PIN confirmation process.
- Enter the same PIN again using the top buttons to cycle through each of the available digits.
- Once you have entered your PIN, select the tick icon again and press the top right button to confirm.
Recovery Seed
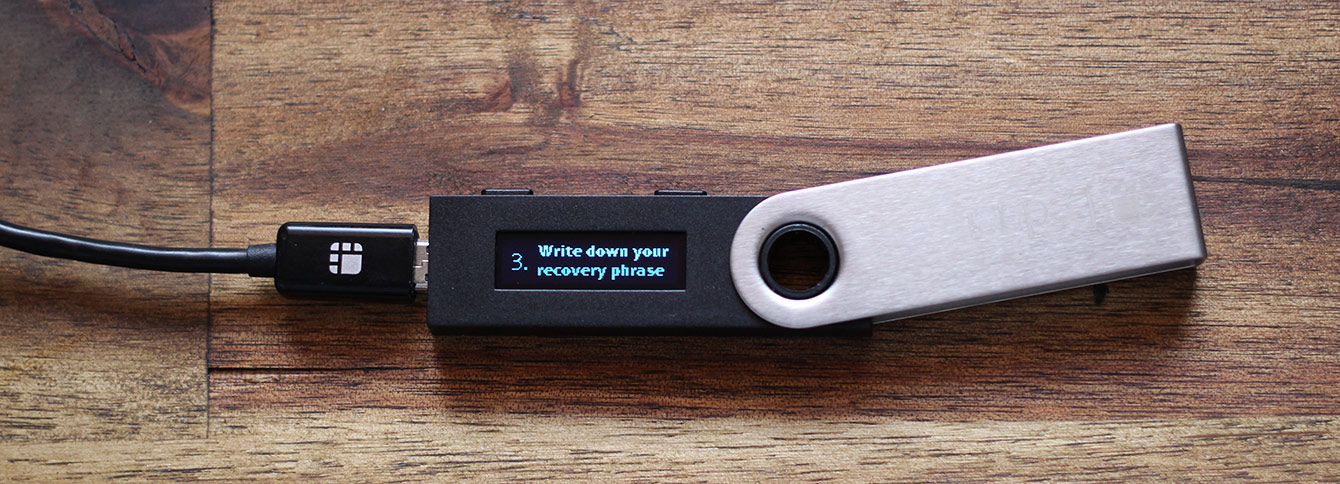
- Write down your recovery phrase will be displayed on the screen. Press both buttons to being the recovery seed setup.
- The Ledger Nano S screen will now show a series of 24 words. These are your recovery seed words and are required to recover your device if you should need to replace it (read more about securely storing your hardware wallet seed). It’s extremely important that you write down all of the words in the correct order and store them in a secure place.
Cycle through the words using the right button writing down each word as you go. If you miss a word or want to double-check after writing your seed words you can go back through each word using the left button.
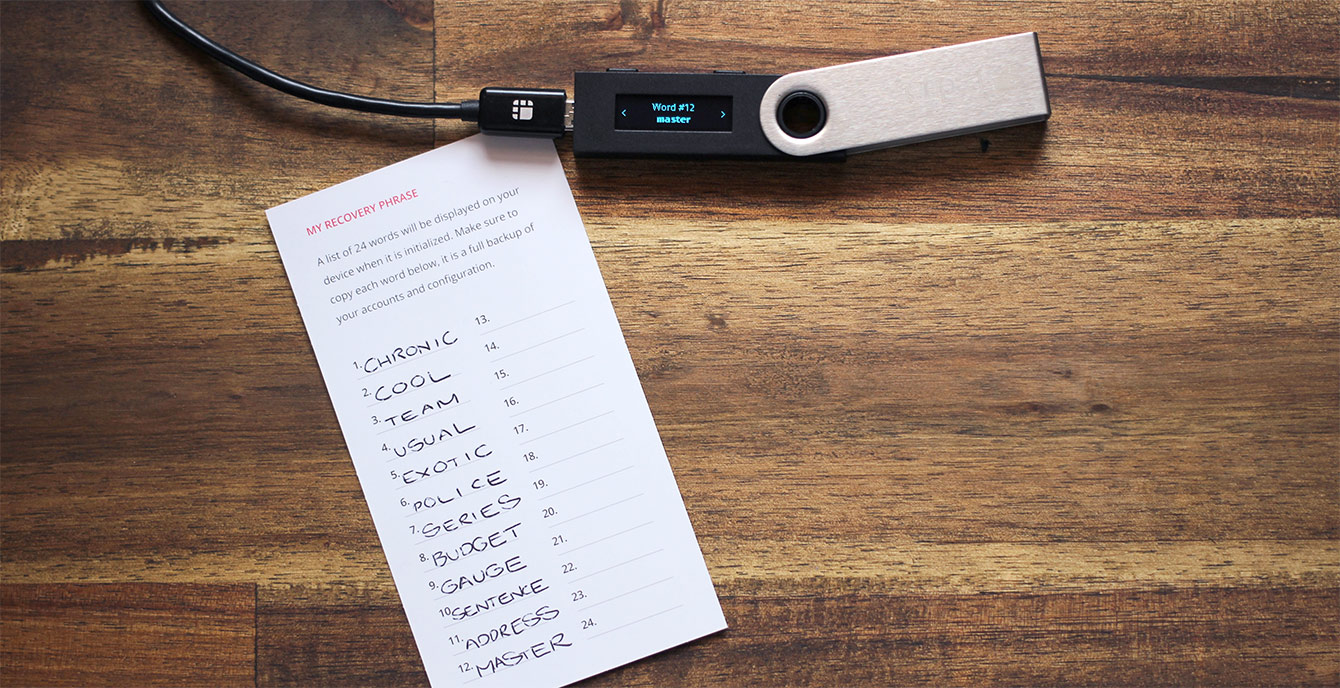
- Once you have reached the 24th word and ensured that you have written down all of the words in the correct order, press both of the top buttons together.
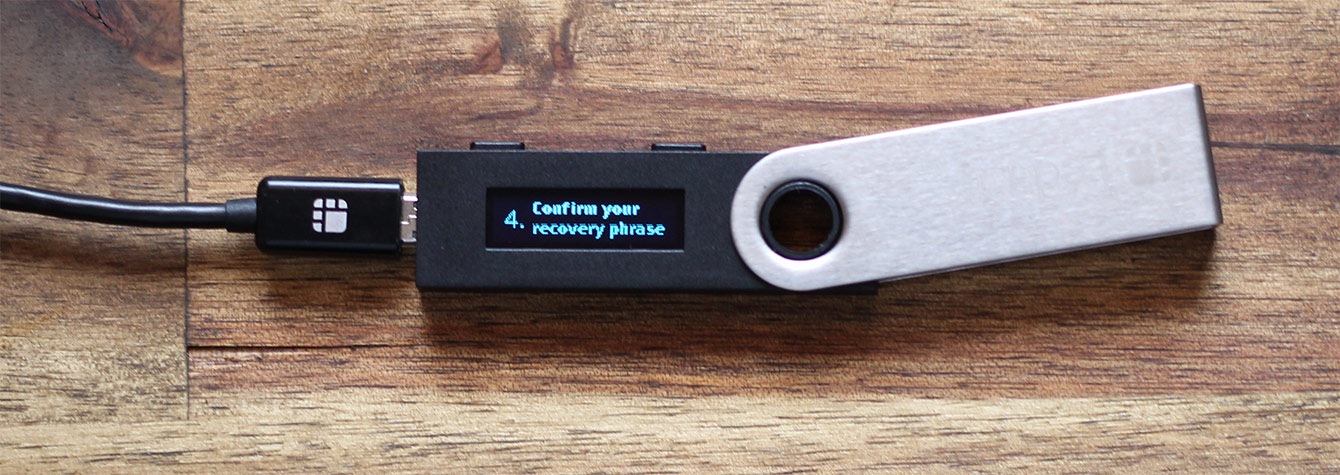
- The device will now ask you to confirm some of the words to ensure you have written them down correctly. Press the both buttons to begin.
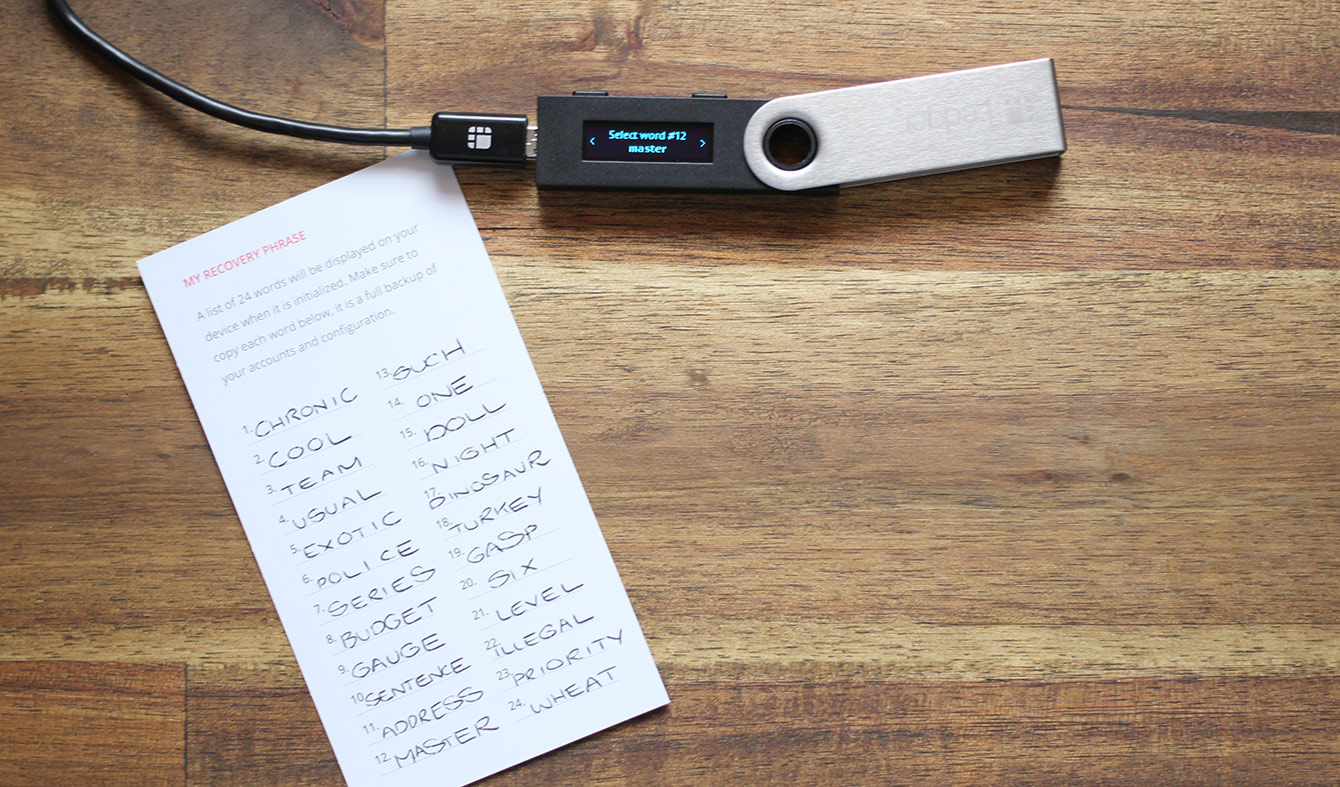
- Use the left and right top buttons, cycle through the available words that match the numbered word displayed on the screen. Once the correct word is selected, confirm by pressing both buttons simultaneously. In our example, we are asked for the 12th word which is master.
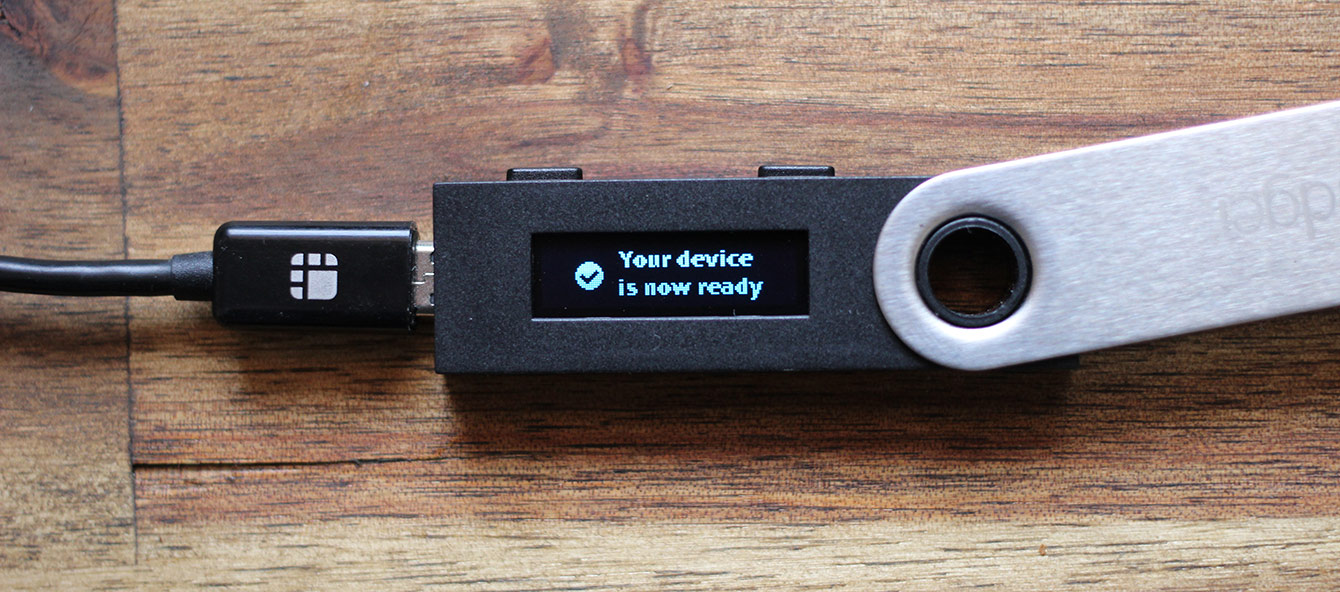
- Repeat step 5 until you have answered all of the recovery seed word questions. The screen will then display Your device is now ready. Congratulations!
Ledger Live Installation
Ledger Live is the latest software released by Ledger to be used as an interface to the Ledger Nano S. All of your apps, wallets and transactions and be managed directly through the Ledger Live software.
Please note at a minimum you must be running Windows 10 (64-bit), Mac OS 10.9 (64-bit) or Linux Ubuntu 16.10 and have a USB port and internet connection.
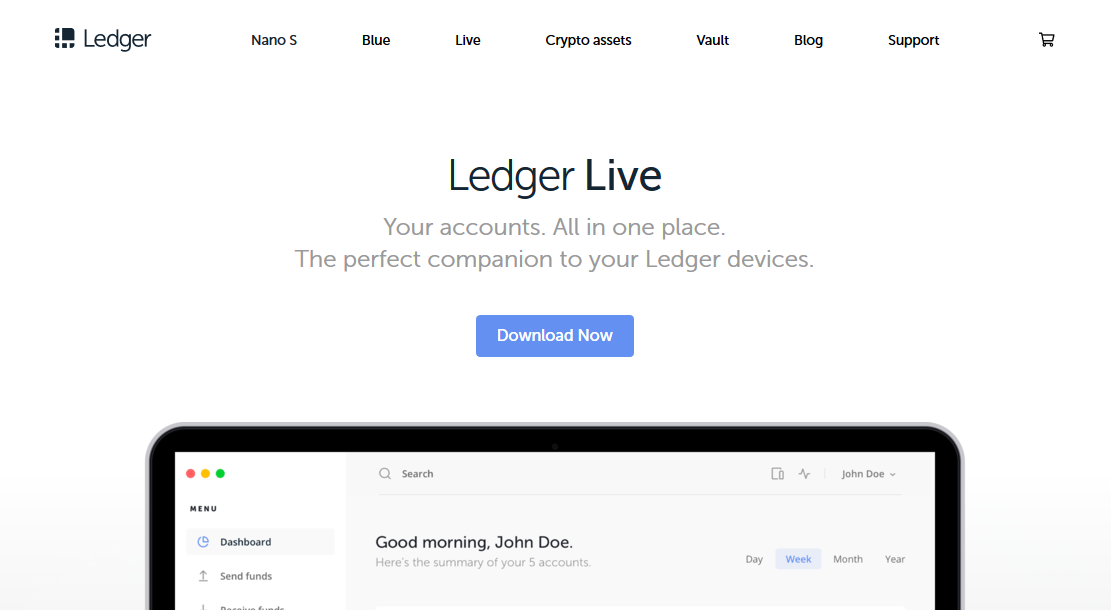
- Go to Ledger Live and click the Download Now button.
- Once the download has completed, install and open Ledger Live.
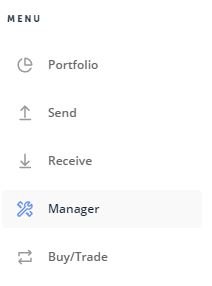
- On the left hand side menu, click on Manager.
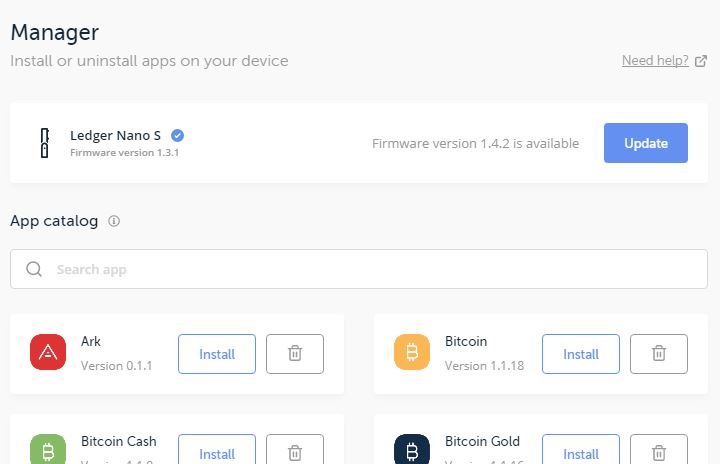
- If you are using a brand new device, the firmware will more than likely need to be updated. If the Ledger Live manager doesn’t have a firmware update message, you won’t need to follow the remaining steps.
- Click on the Update button.
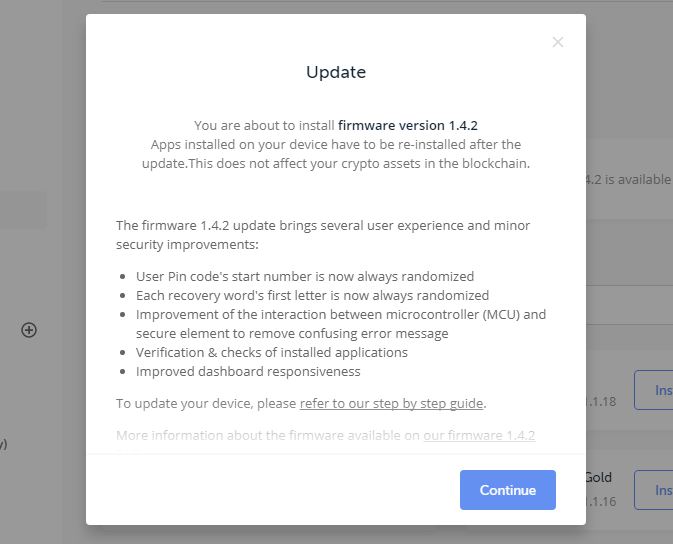
- Ledger Live will display a message detailing the upgrade to the latest device firmware. Click on Continue.
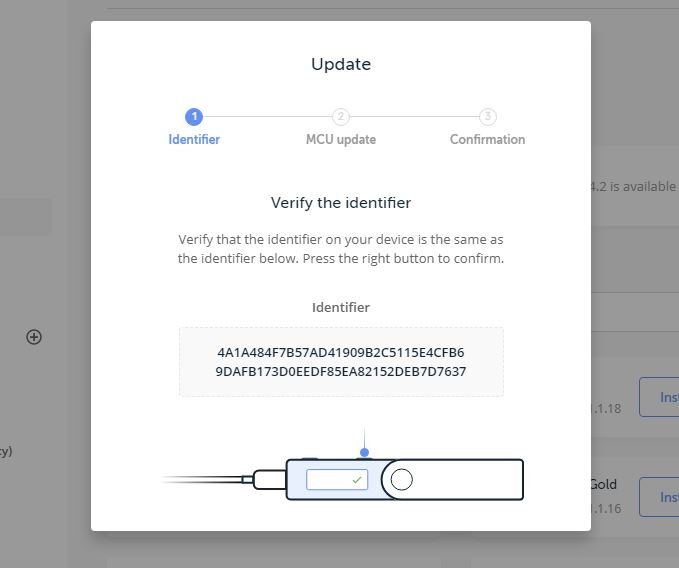
- Ensure that the identifier displayed by Ledger Live matches the identifier shown on the screen of your Ledger Nano S. If they match, press the top right button on the Ledger Nano S.
- The device will then ask for confirmation of your PIN to proceed. Once you have entered the PIN that you selected during the initial setup process, select the tick icon to confirm.
- Ledger Live will display MCU Firmware is outdated. Disconnect the USB cable from the Ledger Nano S.
- Once prompted on the screen, press and hold the left button on the Ledger Nano S and reconnect the USB cable (while keeping the left button pressed).
- Release the left button after around 10 seconds and bootloader is displayed on the device’s screen.
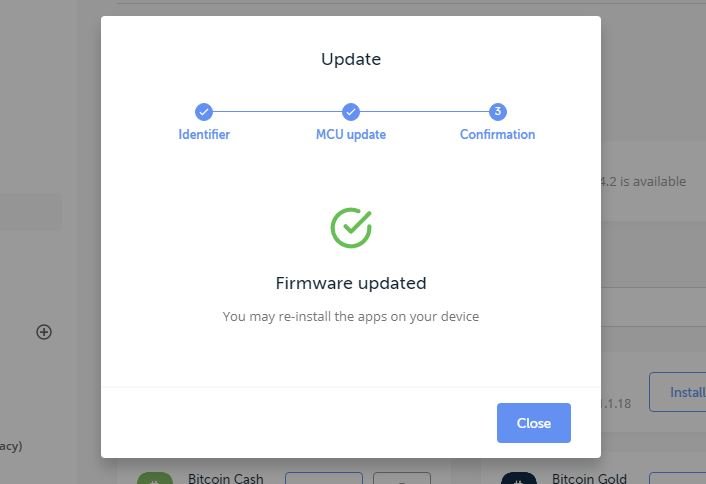
- On completion of the firmware update, Ledger Live should display the message Firmware updated. You will be prompted to enter your PIN one final time.
Congratulations! You’ve now setup your Ledger Nano S and can start installing apps via Ledger Live and managing your cryptocurrencies. Remember to keep your recovery seed in a safe place and consider purchasing a Cryptosteel Cassette or Cryptosteel Capsule to keep your seed safe against the elements.